The unified in-service software upgrade (ISSU) is the feature to upgrade a software version without any disruption. In Juniper devices you can do the ISSU and in this lesson we will learn, how to do ISSU on Juniper.
If we use unified in-service software upgrade, we will be able avail below advantages.
- There will be no need to schedule maintenance window
- No disruption of control plane traffic
- We can complete the up-gradation with minimum traffic disruption
ISSU Supported Devices:
Below listed devices support ISSU (unified in-service software upgrade) in Juniper. If you have partner credential then you can check supported device list from https://apps.juniper.net/feature-explorer/issu.html (login required).
Routers:
ACX5000
MX104, MX240, MX480, MX960, MX2010, MX2020, MX10003
PTX3000, PTX5000
All T Series

Security:
SRX1400, SRX1500, SRX3400, SRX3600, SRX4100, SRX4200, SRX4600, SRX5400, SRX5600, SRX5800

Switches:
EX9200
QFX5100
Prerequisite:
- Graceful routing switch over and Non-stop routing
- Same Master and Backup routing engine in term of hardware and software
- Stable Chassis
We will perform the ISSU in few steps.
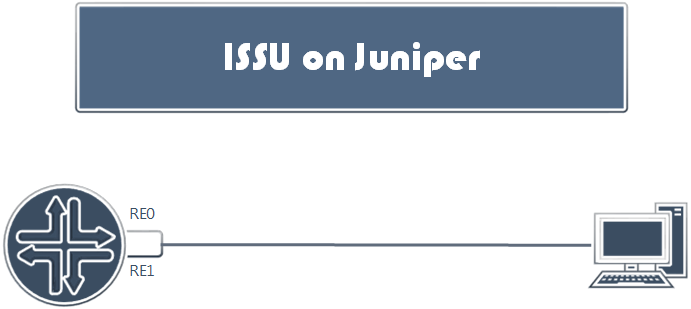
Verify duel RE and Enable GRES and NSR:
First of all, let’s verify duel routing engine and then verify graceful Routing Engine switchover (GRES) and nonstop active routing (NSR) is enabled.
Verify the routing engine (RE).
show chassis hardware
By default, graceful Routing Engine switchover (GRES) and nonstop active routing (NSR) are disabled. Hence, let’s enable it using below command.
GRES:
set chassis redundancy graceful-switchover

NSR:
set routing-options nonstop-routing
Whenever you are configuring NSR, you must configure commit synchronization using below command. Therefore use below command to synchronize.
set system commit synchronize
Finally let’s save and apply using commit command.
commit
We can verify the GRES and NSR using below commands-
show task replication
show system switchover
Verify system software:
Now, verify system software using below command.
show version invoke-on all-routing-engines
Taking the snapshot:
It is always recommended to take snapshot before the up-gradation begin for each routing engine. We can switchover to each RE using following command. So, let’s go to backup RE first and take the snapshot. After that, we will return to RE0 (master) and take the snapshot.
request routing-engine login re1
request system snapshot

request routing-engine login re0
request system snapshot
Other Checklist:
There is few device specific configuration and guideline for the final up-gradation. So, it’s recommended to read device, software version, and feature specific release notes before doing for the ISSU. You can check below list for more details – Juniper documentation regarding this.
Uploading the image:
Now, move to the final configuration step by copying the JunOS into the devices. Use can use FTP server and command are below-
file copy ftp://username@hostname.net/filename /var/tmp/filename
Run up-gradation command:
At this moment, we have to run upgrade command in master routing engine.
request system software in-service-upgrade /var/tmp/reboot
Verify the software version using below command-
show version invoke-on all-routing-engines
If required, you can make re0 master again by using below command.
request chassis routing-engine master acquire