Welcome back everyone. Today, i will be sharing, how to install Palo Alto firewall on EVE-NG. I will be deploying PAN-OS version 9.0.1. So, let’s get started.
Hardware requirements
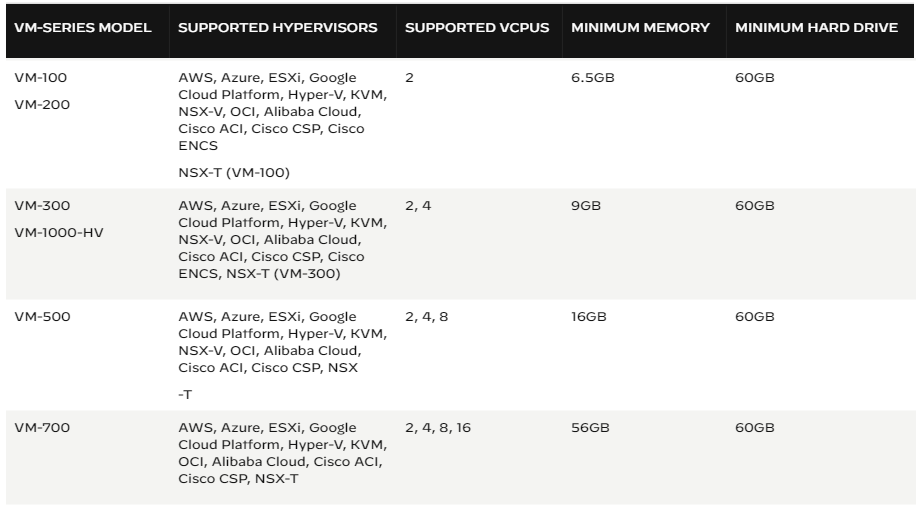
According Palo Alto Website: If you check the Palo Alto website, you will be able to see 5.5GB RAM with 2 vCPUs is the minimum requirements for VM-50.

It will be much higher if you go for other PAN-OS vm series. So, you should have minimum 5.5 GB RAM with 2 vCPUs for standalone unit and 11 GB RAM with 4 vCPUs if you want to configure High availability.
These system requirements for VM-series updates regularly with the version updates. So, you should check the Palo Alto website, whenever you are going to install Palo Alto VM-series.
According EVE-NG Website: You should have minimum 4GB RAM with 2 vCPUs for version 7.0.1 and version 8.0.1. In this tutorial, we are going to install version 9.0.1 and it is not listed here. So, how much we should assign for version 9.0.1? The answer will be, only 4 GB RAM with 2 vCPUs.

Images
EVE-NG download: Visit eve-ng.net/index.php/download
Palo Alto Image Download: Visit support.paloaltonetworks.com and login with your credentials. Now go to Updates >> Software Updates and choose PAN-OS for VM-Series Base Images and download version 9.0.1.
Install Palo Alto firewall on EVE-NG
First of all, we need to SSH our eve-ng using terminal software. After that, create a temporary directory. In my case, I am creating a directory named abc.
mkdir abc
We need to go to our newly created directory.
cd abc
At this point, we will upload our PAN-OS 9.0.1 to the directory abc using WinSCP. You also can use FileZilla, if you do not want to use WinSCP. The folder abc will be under /root/ directory in the eve-ng. Browse and locate your PAN-OS version 9.0.1 from local directories, and drug-&-drop to folder abc. This uploading process will take several mins depending on your machine speed.
Next, we will uncompressed our .ova file using tar command.
tar xf PA-VM-ESX-9.0.1.ova
Then, we will convert the disk to the qcow2 format and name the converted image as virtioa.qcow2.
/opt/qemu/bin/qemu-img convert -f vmdk -O qcow2 PA-VM-ESX-9.0.1-disk1.vmdk virtioa.qcow2
After that, we will create the folder for new image.
mkdir /opt/unetlab/addons/qemu/paloalto-9.0.1
Lastly, we will move new image in new directory.
mv virtioa.qcow2 /opt/unetlab/addons/qemu/paloalto-9.0.1
We can delete our temporary directory abc if we want to. To do that, first exit the abc folder and then run rm command.
cd ..
rm -rf abc
And, finally provide permission using below command-
/opt/unetlab/wrappers/unl_wrapper -a fixpermissions
.
So, this how you install PAN-OS version 9.0.1 in Eve-NG. If you have any questions, please do ask me. Thanks 🙂
Video Version:
If you find this article and video useful, share this content. If you have any questions, please feel free to ask.
Serial # of Paloalto FW on EVE-NG shows “unknown” but we need serial # of PA’s to add them to Panorama.. So how can we add PA firewall to panorama on EVE-NG?.. Any Idea?
Your video is very helpful!..
Thanks..
Add your license on your virtual Palo Alto firewall first.
Paloalto FW failing to start although in notification it says it started successfully. Any idea ?
It will take 10-15 mins to start properly. Did you wait that much time?
what will be the password for the palo
Default credential for Palo Alto firewall is admin/admin.